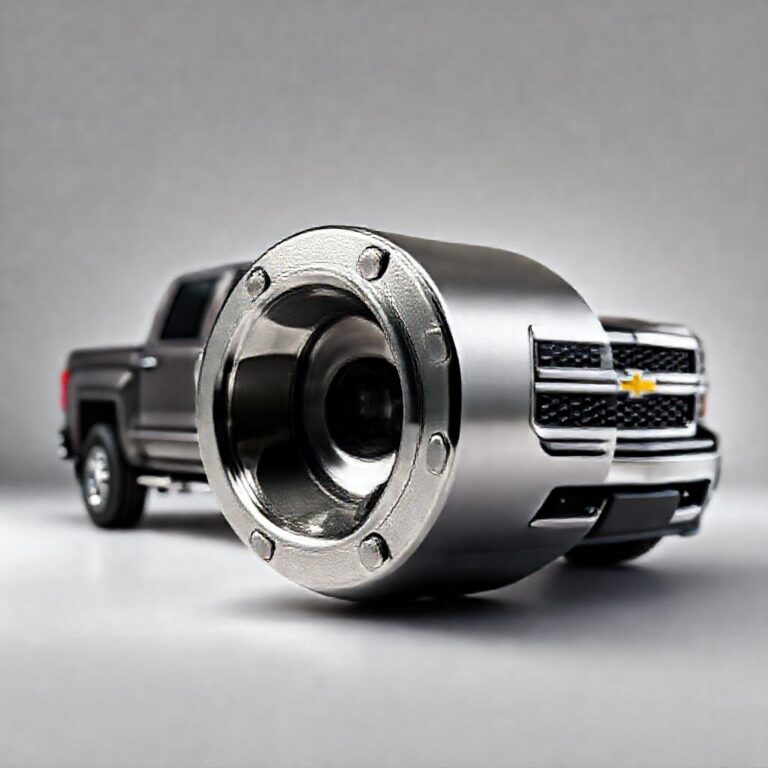
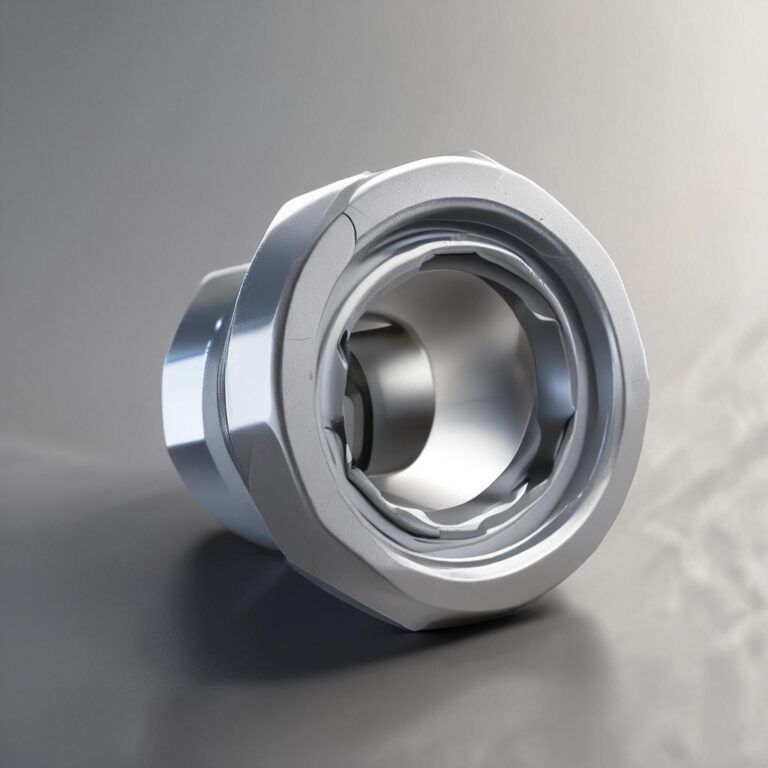
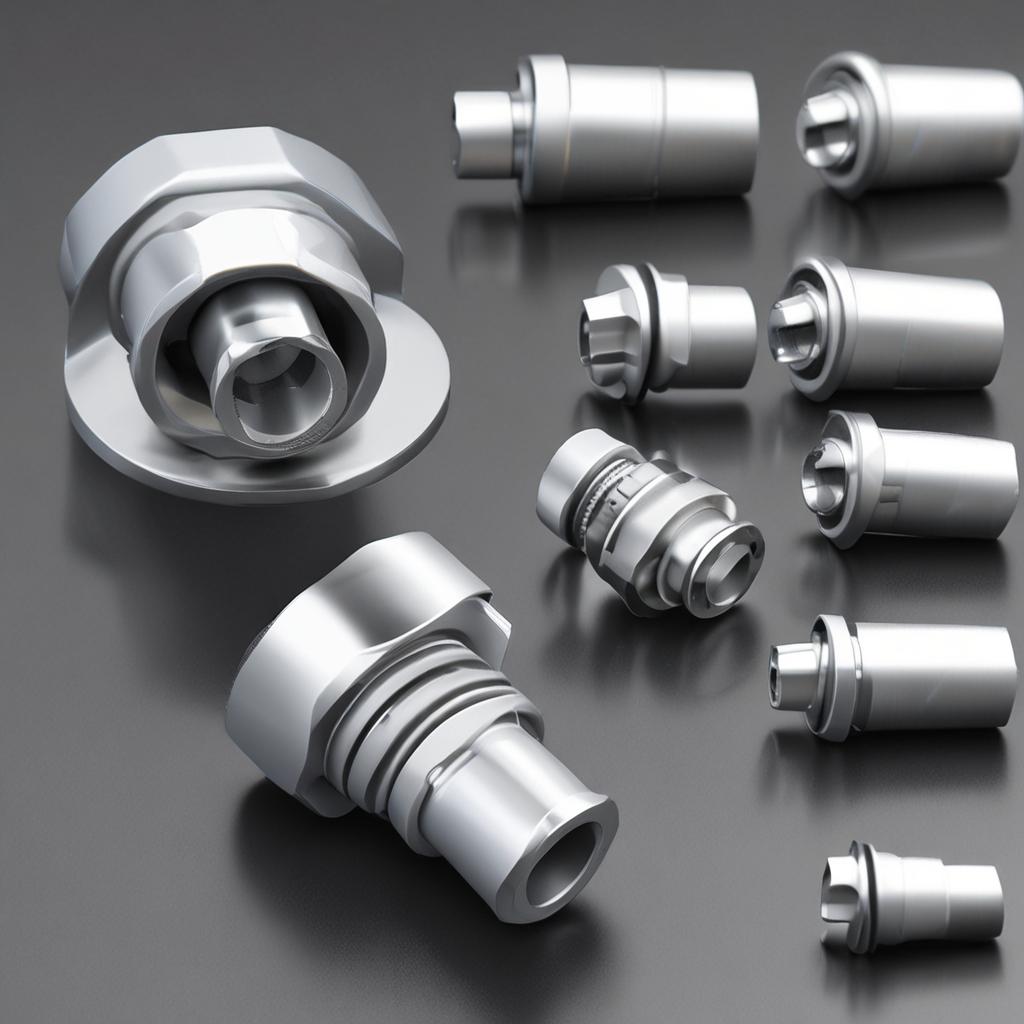
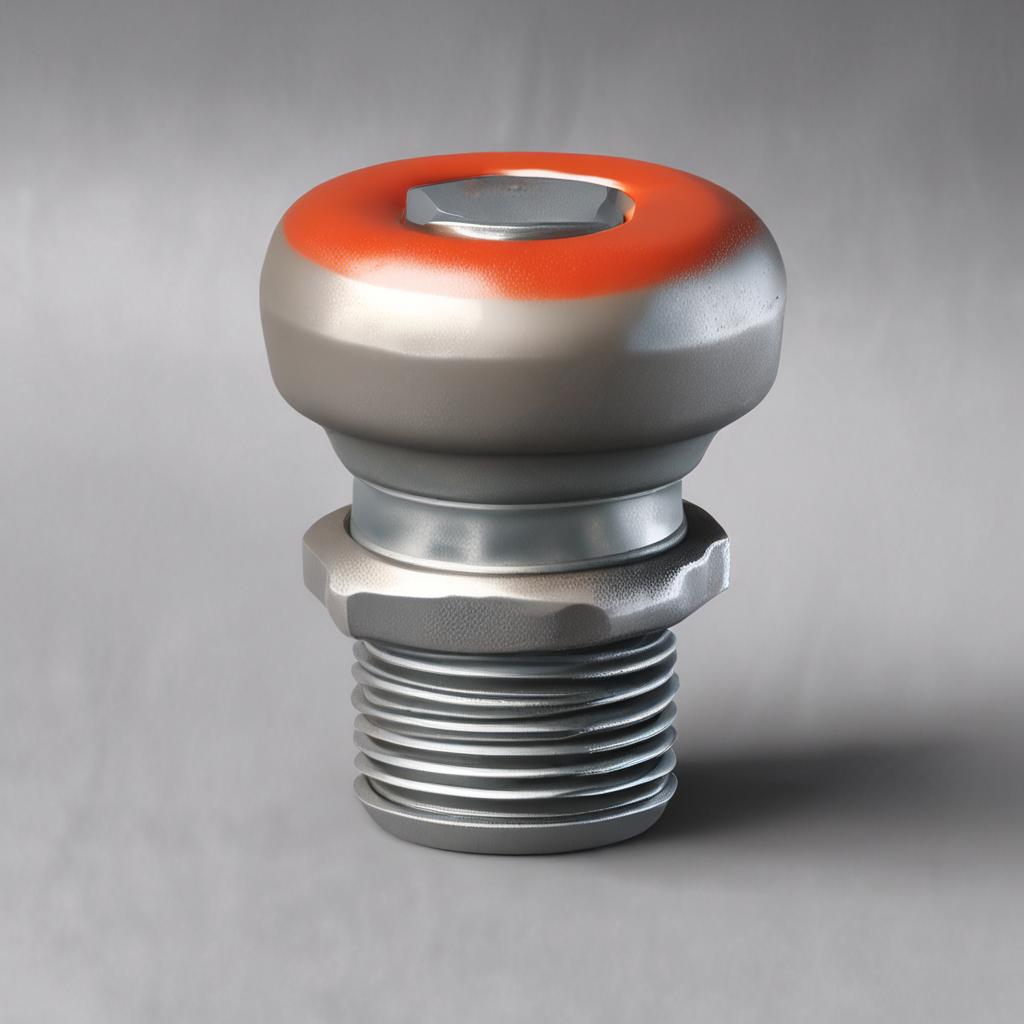
U Joint Grease Plug
Universal joints (U-joints) are critical components in a vehicle’s drivetrain, transferring power from the transmission to the wheels while allowing for flexibility in the driveshaft. Proper lubrication is essential to keep these moving parts running smoothly, and that’s where U-joint grease plugs play a vital role. These small but crucial components ensure that fresh grease is delivered to the U-joint, preventing excessive wear and extending its lifespan. Whether you’re a DIY mechanic or simply want to understand basic vehicle maintenance, knowing how U-joint grease plugs work—and when they need replacement—can save you time, money, and headaches down the road.
Step-by-Step Process
Prepare Tools
Gather grease gun, appropriate grease, and socket set.
Locate Grease Plug
Find the grease plug on the U-joint housing.
Remove Plug
Use a socket to unscrew the grease plug counterclockwise.
Apply Grease
Insert grease gun nozzle and pump grease until resistance is felt.
Reinstall Plug
Tighten the grease plug securely by hand, then with a socket.
Process infographic for U Joint Grease Plug
What Is a U-Joint Grease Plug?
A U-joint grease plug is a threaded metal or rubber cap placed on the housing of a U-joint to allow grease to be injected into the bearing assembly. Unlike grease fittings (commonly known as Zerks), which are designed for repeated greasing, grease plugs are typically removed and replaced during maintenance. They are most commonly found on the driveshaft or transmission output shaft, where U-joints connect.

How U-Joint Grease Plugs Work
Grease plugs serve as access points for lubricating U-joints. When removed, they expose the grease port, allowing a grease gun to inject fresh lubricant into the bearing capsule. This grease reduces friction between the U-joint’s moving parts, preventing overheating and wear. Unlike sealed U-joints, which require no maintenance, grease plug-equipped U-joints need periodic lubrication to function properly.
Signs of a Faulty or Missing Grease Plug
A damaged or missing grease plug can lead to insufficient lubrication, causing premature U-joint failure. Common signs of a problem include:
- Excessive vibration or grinding noises from the drivetrain
- Clicking or knocking sounds when shifting gears or turning
- Visible grease leakage around the U-joint
- Difficulty in steering or reduced drivetrain efficiency
If left unchecked, a lack of proper lubrication can lead to complete U-joint failure, requiring costly repairs.
How to Check and Replace a U-Joint Grease Plug
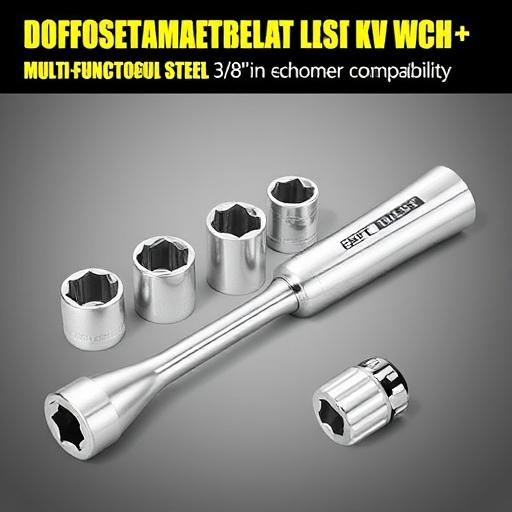
Tools Needed for Grease Plug Replacement
Before starting, gather the following tools:
- Grease gun (with high-quality U-joint grease)
- Socket set or wrench (to remove the plug)
- Pliers or a pry tool (for stubborn plugs)
- Rags (for cleaning excess grease)
- Safety gloves and eye protection
Step-by-Step Guide to Grease Plug Replacement
1. Locate the U-joint grease plug: Identify the plug on the U-joint housing, usually near the bearing cap.
2. Remove the old grease plug: Use a socket or wrench to unscrew it, or pry it out if it’s stuck.
3. Inspect the U-joint: Check for excessive wear, rust, or damage. If the U-joint is worn, replacement may be necessary.
4. Install a new grease plug: Thread a new plug into place and tighten it securely to prevent leaks.
5. Properly grease the U-joint: Using a grease gun, inject fresh grease until it begins to ooze out of the bearing capsule.
Choosing the Right Grease for U-Joints
Not all greases are suitable for U-joints. Lithium-based or extreme-pressure (EP) grease is recommended due to its high resistance to heat and friction. Avoid using general-purpose grease, as it may break down under the stress of high-speed rotation. Check your vehicle’s manual for the manufacturer’s recommended grease type.
Common Mistakes When Working with U-Joint Grease Plugs
Mistakes in U-joint maintenance can lead to more harm than good. Common errors include:
- Over-greasing, which can cause excess pressure and leaks
- Using the wrong type of grease, leading to poor lubrication
- Ignoring U-joint wear alongside grease plug replacement
When to Seek Professional Help
While replacing a grease plug is a straightforward task, severe U-joint damage may require professional intervention. If you notice excessive play in the U-joint, severe vibrations, or complete failure, consult a mechanic to avoid further drivetrain issues.
Conclusion
U-joint grease plugs are small but essential for maintaining your vehicle’s drivetrain. Regular inspection and proper lubrication can prevent costly repairs and ensure smooth operation. By understanding how grease plugs work and following the right maintenance practices, you can keep your U-joints in top condition for years to come.
FAQ: U-Joint Grease Plugs
Q: Can I use any grease for my U-joint?
Answer: No, only high-quality grease designed for U-joints (e.g., EP grease) should be used.
Q: How often should I grease my U-joints?
Answer: Generally every 3-6 months, but check your vehicle’s manual for specific recommendations.
Q: What happens if a grease plug is missing?
Answer: The U-joint may wear out faster due to lack of lubrication, leading to failure.
Q: Can I drive with a damaged grease plug?
Answer: It’s not recommended, as it can lead to premature U-joint failure and drivetrain damage.
Q: Are grease plugs and grease fittings interchangeable?
Answer: No, grease fittings (Zerks) are designed for repeat greasing, while grease plugs are typically removed and replaced.