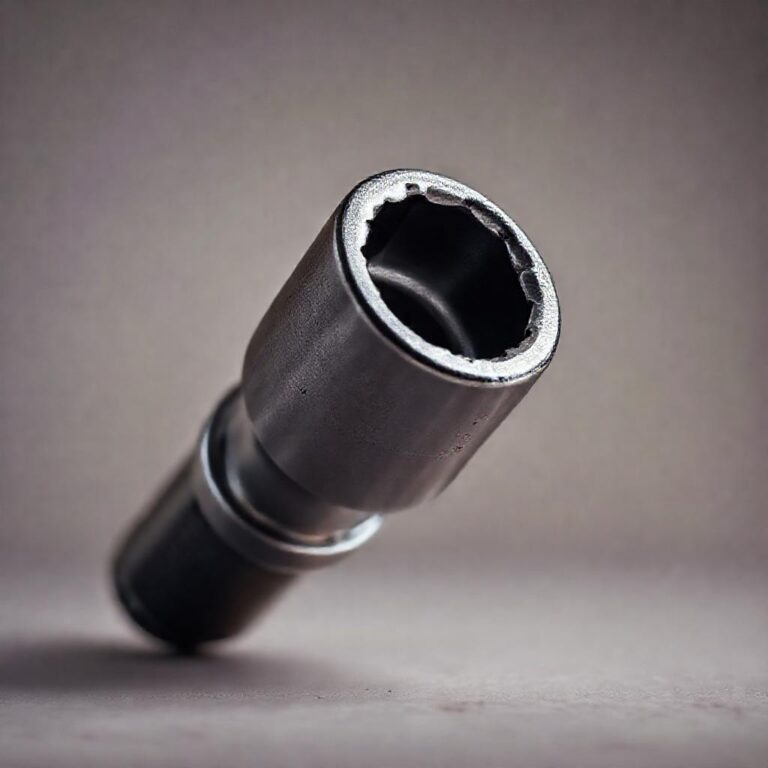
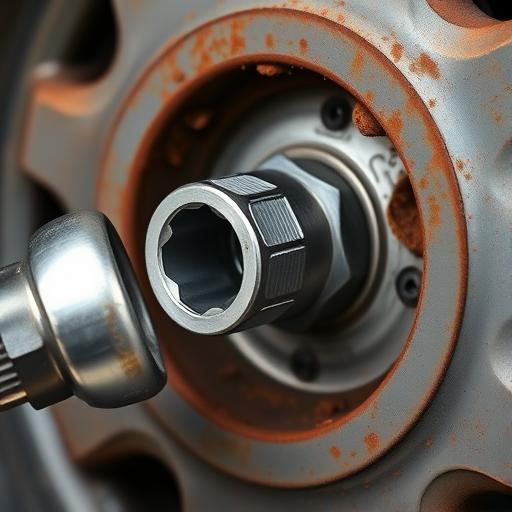
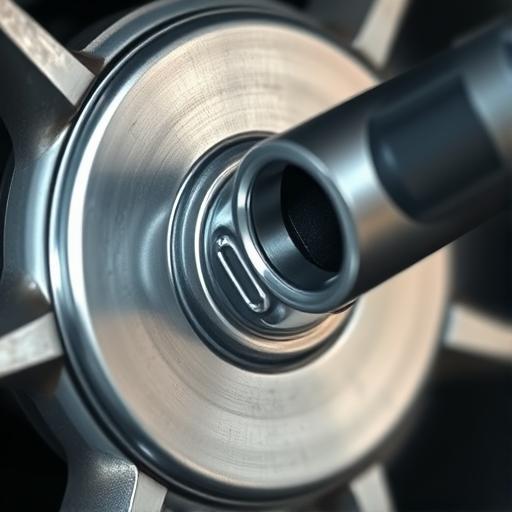
Socket Stuck on Wheel Nut
Changing a tire or adjusting wheel components can quickly turn into a frustrating ordeal when a socket becomes stuck on a wheel nut. Whether you’re working in your garage or on the side of the road, a socket that refuses to budge can halt progress and risk damaging tools or wheels. Understanding the causes and solutions for this issue is key to resolving it safely and efficiently. Let’s walk through the science behind socket sticking, the tools you’ll need, and step-by-step strategies to free it without breaking a sweat—or your equipment.
Common Causes of a Socket Stuck on a Wheel Nut
Rust or Corrosion Buildup
Rust forms when moisture combines with oxygen, creating iron oxide that bonds metal surfaces. Wheel nuts are particularly susceptible because they’re exposed to the elements, especially in humid areas or regions where road salt is used extensively. Over time, this corrosion can cause the socket to fuse to the nut, making removal challenging without the right approach.
Over-Tightening or Stripped Threads
Excessive torque during installation can deform or strip the threads of the socket or nut, creating resistance during removal. This is common when using extensions like cheater bars without realizing the pressure applied. Stripped threads reduce the socket’s grip, but they can also lock the tool in place if the damage is severe enough.
Debris or Dirt Accumulation
Brake dust, dirt, and old grease can accumulate in the socket’s recess, acting like a mechanical adhesive. This is especially true for wheel nuts on vehicles that frequently travel off-road or in dusty environments. The debris fills gaps and resists movement, holding the socket tightly in place.
Essential Tools for Removing a Stuck Socket
Basic Tools
- Break bar or cheater pipe for extra leverage
- Penetrating oil (e.g., PB Blaster or similar)
- Hammer for tapping the socket
- Flat-head chisel or pry bar
Advanced Tools (If Needed)
- Impact driver for stubborn fasteners
- Heat gun or propane torch to expand metal
- Thread extractors for damaged or rounded nuts
Step-by-Step Methods to Remove a Stuck Socket
Method 1 – Using Penetrating Oil (Easiest)
- Apply a generous amount of penetrating oil around the socket and nut interface.
- Allow the oil to soak for at least 10–15 minutes to break down rust or grime.
- Attempt to turn the socket counterclockwise using a wrench or ratchet.
Method 2 – Tapping with a Hammer (Gentle Force)
- Position the socket so the nut is secure, then gently tap the socket’s side with a hammer.
- Alternate between tapping and applying counterclockwise pressure to jar the connection loose.
- Repeat until the socket begins to turn freely.
Method 3 – Using a Break Bar or Cheater Bar (Extra Torque)
- Attach a break bar to your ratchet for increased leverage.
- Apply steady, controlled force in the counterclockwise direction.
- Be cautious to avoid snapping the socket or damaging surrounding components.
Method 4 – Heating the Socket (For Severe Cases)
- Use a heat gun or propane torch to warm the socket, causing metal expansion.
- Quickly rotate the socket counterclockwise while it’s warm, as the expansion can break the bond.
- Work quickly to avoid overheating and let the area cool before reapplying force if needed.
Method 5 – Using a Chisel or Pry Bar (Last Resort)
- Insert a chisel or pry bar between the socket and nut’s edge.
- Gently tap the chisel with a hammer to create a small gap, loosening the socket’s grip.
- Once a gap forms, twist the socket while prying to remove it completely.
Preventing Future Socket Sticking
Proper Torque Application
Over-tightening is a leading cause of stuck sockets. Always refer to your vehicle’s manual for recommended torque specifications and use a calibrated torque wrench to avoid exceeding them. This preserves both the nut’s integrity and the socket’s fit.
Regular Maintenance & Cleaning
After working on wheels, clean the nuts and sockets to remove debris and moisture. For long-term protection, apply a thin layer of anti-seize compound to the threads. This creates a barrier that prevents corrosion and reduces the likelihood of the socket locking in place.

Using High-Quality Tools
Invest in sockets made from durable, high-grade materials like chrome vanadium steel. Ensure the socket matches the nut’s size precisely to avoid slippage or binding. Well-constructed tools are less prone to wear and more likely to release smoothly when needed.
Conclusion
Removing a socket stuck on a wheel nut requires patience, the right tools, and a methodical approach. From penetrating oil and gentle tapping to controlled heating and prying, these techniques help you free the socket without damage. Prevention, however, is always better than repair—clean your tools, apply anti-seize, and torque correctly. Always keep a bottle of penetrating oil in your toolkit; it’s a small step that can save you a lot of hassle down the line.
FAQs About a Socket Stuck on a Wheel Nut
Q1: Can I use WD-40 to remove a stuck socket?
WD-40 can help loosen minor debris or light rust, but it’s not a true penetrating oil. For deep-seated rust, opt for a specialized product like PB Blaster or Kroil, which are designed to seep into tight spaces and dissolve corrosion more effectively.
Q2: Is it safe to heat a socket with a torch?
Yes, but only as a last resort. Heat the socket until it’s warm, not red-hot, to avoid warping or damaging nearby components such as tires or brake lines. Allow the area to cool slightly before attempting removal.
Q3: What if the wheel nut is also damaged?
If the nut is stripped or damaged, a thread repair kit or new nut may be required. Avoid damaging the wheel stud by not forcing the socket further. In emergencies, replace the nut with a spare before driving to prevent safety risks.
Q4: How do I prevent a socket from sticking in the future?
After cleaning wheel nuts, apply an anti-seize compound to their threads. This prevents oxidation and binding. Additionally, avoid over-tightening and inspect tools for wear to ensure a snug fit every time.
Q5: Can I use a hammer directly on the socket?
Light tapping on the socket’s side with a hammer is safe to help loosen it. However, direct heavy blows can dent or crack the socket, compromising its function. Use a plastic or rubber mallet for added protection if possible.