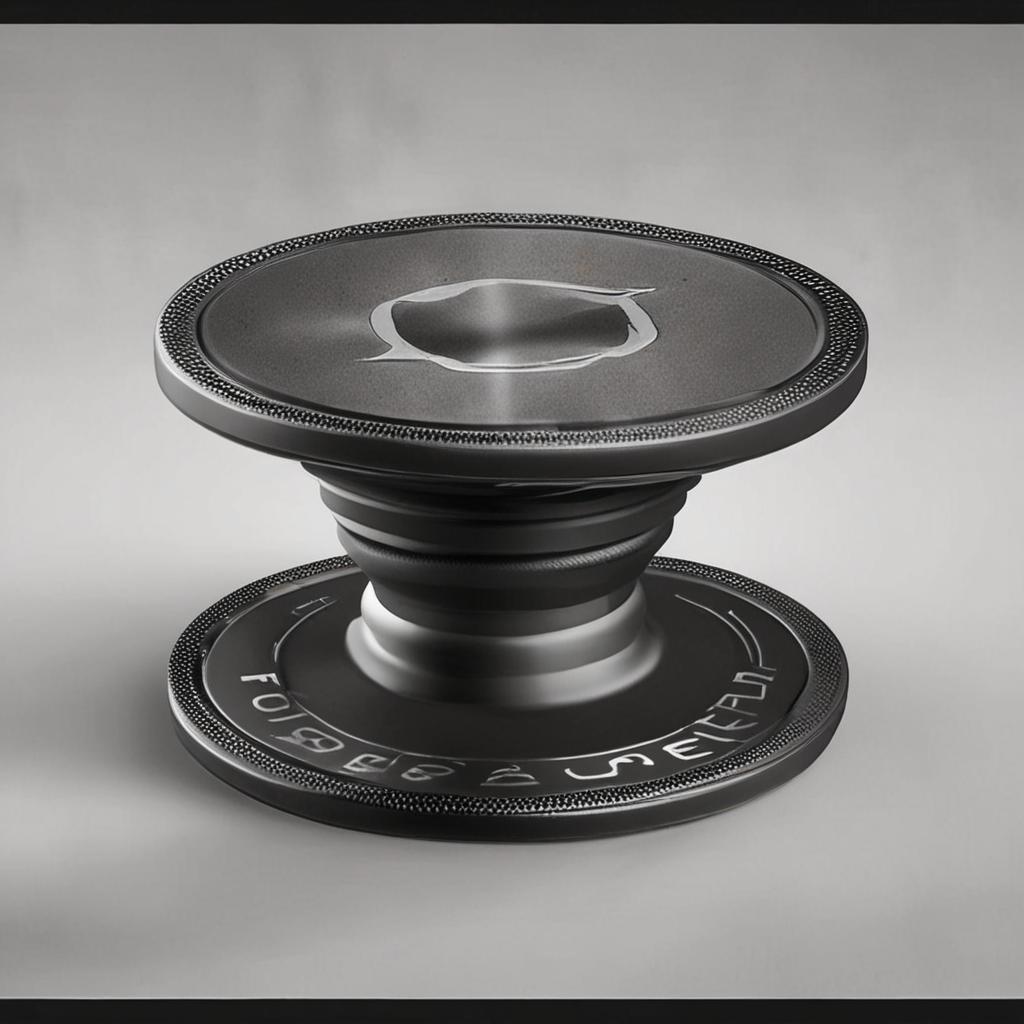
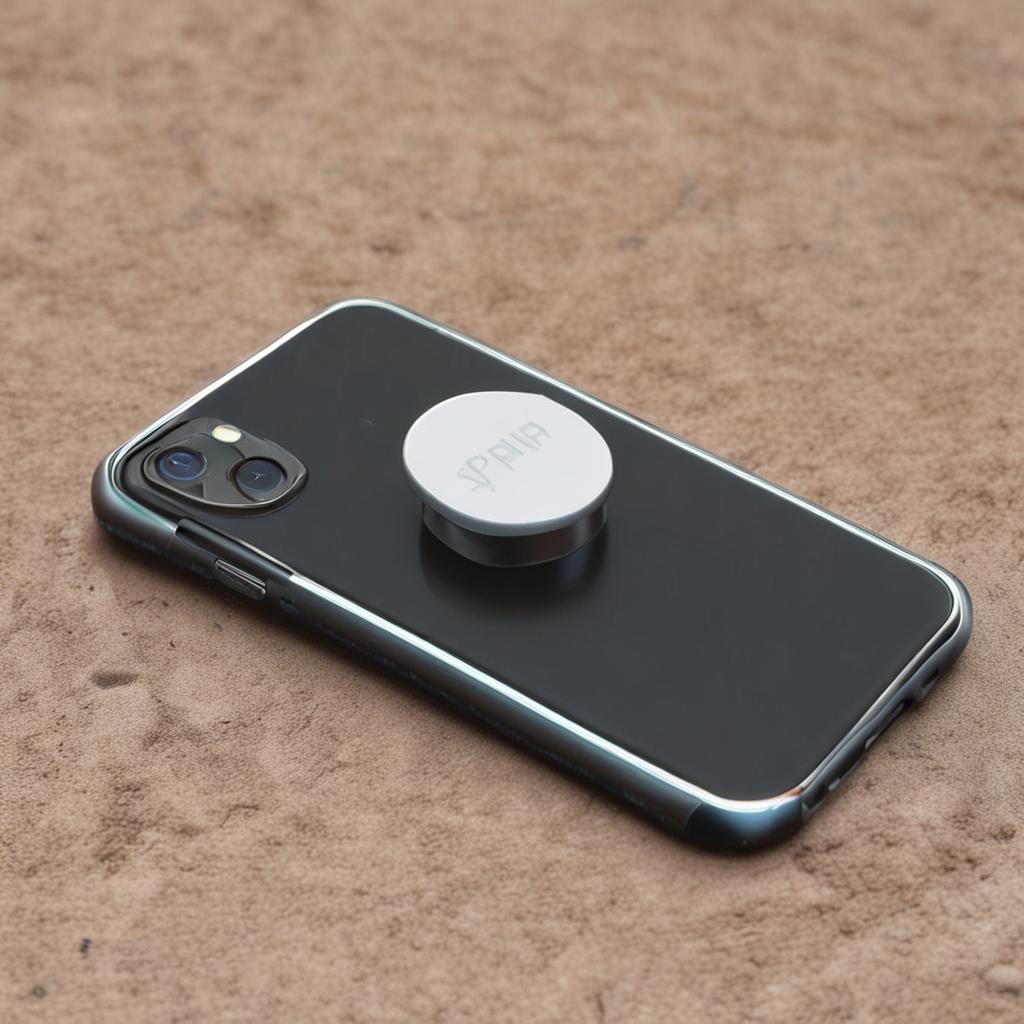
Pop Socket Removal
Pop Sockets have become a staple accessory for smartphone users, offering a convenient grip and stand. However, over time, you might find the need to remove your Pop Socket due to wear, dirt buildup, or an urge to adjust its placement. Whether you’re preparing to replace it with a new one, reposition it for better usability, or simply giving your phone a fresh look, knowing how to safely detach your Pop Socket is essential. Improper removal can leave behind stubborn adhesive residue or even damage your phone case, so following the right techniques ensures a smooth experience. Let’s walk through the best ways to take off your Pop Socket without any hiccups.
Step-by-Step Process
Gather Tools
Collect a flathead screwdriver or pry tool.
Locate Adhesive
Find the edges where the Pop Socket adheres.
Apply Heat
Use a hairdryer to soften the adhesive gently.
Pry Carefully
Insert the tool and lift slowly to avoid damage.
Clean Residue
Remove any remaining adhesive with rubbing alcohol.
Process infographic for Pop Socket Removal
Tools You’ll Need for Pop Socket Removal
Basic Tools
- Fingers: Most Pop Sockets can be removed manually with a careful twist and pull.
Optional Tools
- Hairdryer: Useful for softening strong adhesive, making removal easier. Use the low-heat setting to avoid damaging your device.
Step-by-Step Guide to Removing a Pop Socket
Method 1 – Manual Removal
Begin by ensuring your hands are clean and dry to enhance grip. Pinch the sides of the Pop Socket and rotate it counterclockwise to break the adhesive hold. Once it starts to loosen, gently lift it upward while maintaining the twist. If it doesn’t budge, avoid yanking it—move on to heat or prying tools instead.
Method 2 – Using a Flathead Screwdriver
For Pop Sockets stuck in thick cases, wedge a flathead screwdriver or plastic spudger under the socket’s edge. Apply light pressure to lift it while twisting the socket with your fingers. Be cautious: keep the tool flat against the case to prevent scratches, and avoid using a metal screwdriver on delicate finishes.

Method 3 – Using Heat (for Strong Adhesive)
If the adhesive is especially tenacious, use a hairdryer on its lowest heat setting. Hold it 6 inches from the socket and warm the area for 30 seconds. The heat softens the adhesive, allowing you to twist and lift the Pop Socket with less resistance. Never apply heat directly to your phone’s screen or ports to avoid damaging components.
Cleaning Adhesive Residue
After removal, leftover adhesive can mar your case’s appearance. Dampen a microfiber cloth with isopropyl alcohol and rub the area in circular motions until the residue dissolves. For tougher gunk, use Goo Gone or a cotton swab with a dab of nail polish remover. Always test any cleaner on a small, hidden section of your case first to confirm compatibility.
Reattaching or Replacing Your Pop Socket
If reusing your Pop Socket, ensure the adhesive base is clean and intact. Press it firmly onto your case and twist clockwise to secure. For a newer model, clean the case thoroughly and hold the Pop Socket down for 20–30 seconds to guarantee a strong bond. Avoid pressing too hard immediately after applying to let the adhesive settle.
Common Mistakes to Avoid When Removing a Pop Socket
- Using brute force: Sudden tugs can crack your case or strip the adhesive base. Slow, steady pressure is key.
Frequently Asked Questions (FAQs)
Q1: Will removing a Pop Socket damage my phone case?
No, if done properly. The adhesive is designed to be removable, but using excessive force can harm the case. Stick to gentle twisting and the recommended tools to keep your phone looking pristine.
Q2: How do I remove a Pop Socket that won’t budge?
Apply gentle heat with a hairdryer or use a plastic spudger to pry the edges. Avoid using sharp metal tools, which might scratch the case surface.
Q3: Can I reuse a Pop Socket after removing it?
Yes, but inspect the adhesive for wear. If it’s still sticky, it might work. If not, consider purchasing a replacement adhesive pad for a secure reattachment.
Q4: What’s the best way to clean sticky residue?
Isopropyl alcohol or Goo Gone are the most effective. For a quick fix, nail polish remover can work too, but avoid acetone-based solutions on plastic cases to prevent discoloration.
Q5: How long does a Pop Socket’s adhesive last?
Most Pop Sockets maintain grip for 6–12 months depending on usage, temperature, and how often the device is exposed to moisture or oils.
Conclusion
Removing a Pop Socket doesn’t have to be a frustrating task. By using the right tools and techniques—like gentle twisting or heat—your phone case stays safe and clean. Remember to address any adhesive residue promptly and avoid the common pitfalls of forceful removal. When reattaching or replacing your Pop Socket, give it time to bond properly for the best grip. With these steps in hand, you can keep your device looking sleek and functional for years to come.