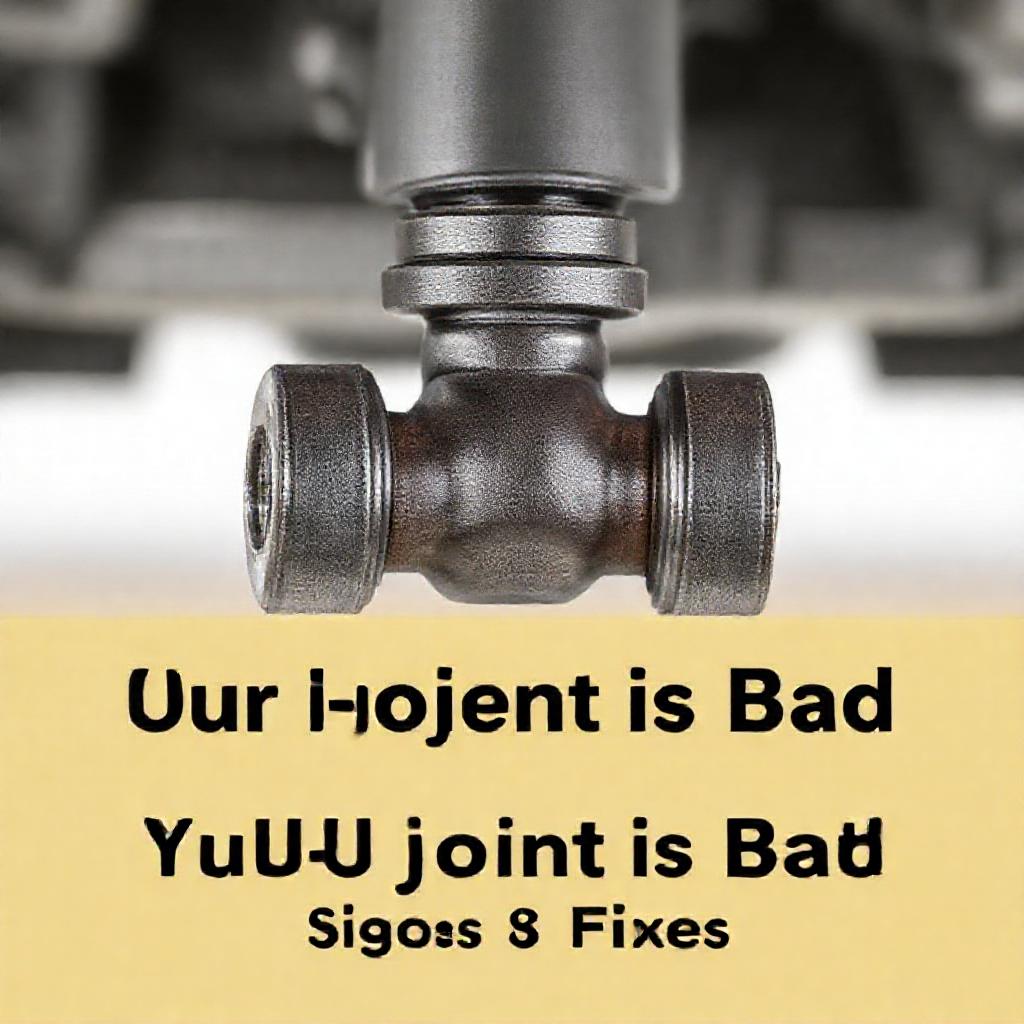
How to Tell If Your U-joint is Bad – Signs & Fixes
Here’s your well-structured, engaging blog post in clean HTML format:
—
Your vehicle’s drivetrain relies on a critical but often overlooked component—the universal joint, or U-joint. This small but mighty part connects your transmission to the driveshaft, allowing power to transfer smoothly even as your wheels and suspension move. However, like any mechanical part, U-joints wear out over time. Ignoring the signs of a failing U-joint can lead to costly repairs or even unsafe driving conditions. In this guide, we’ll walk you through how to spot a bad U-joint, diagnose the issue, and take action before it becomes a bigger problem.
What is a U-Joint and How Does It Work?
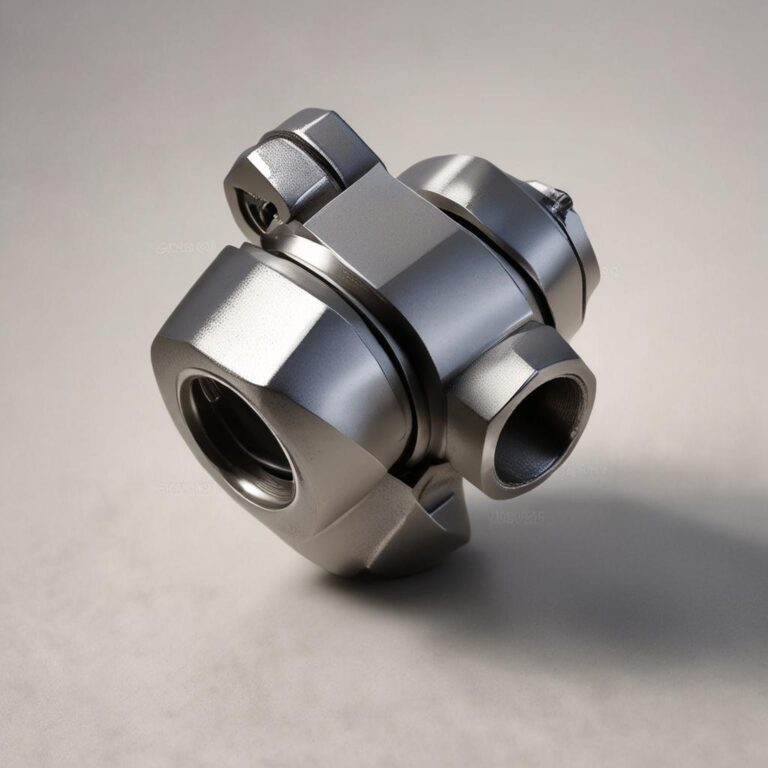
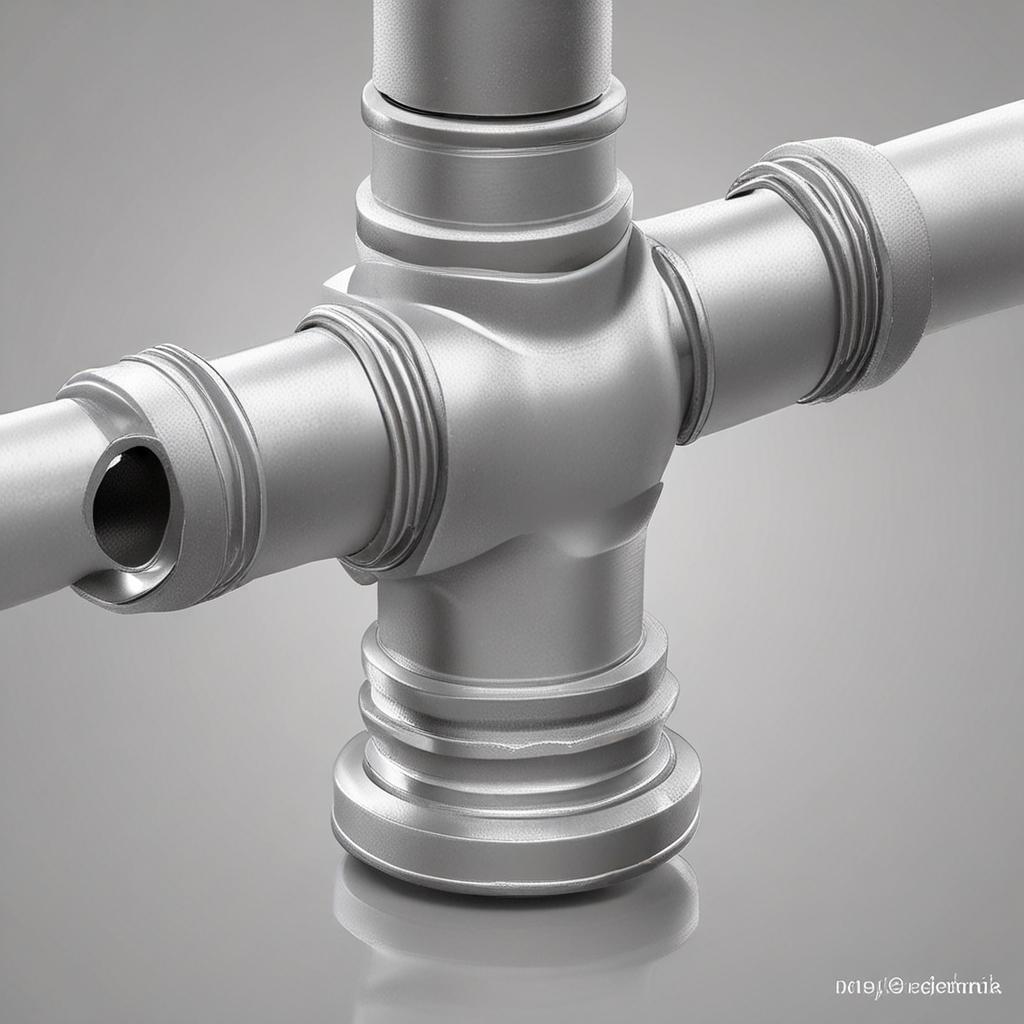
A U-joint (universal joint) is a flexible coupling that allows rotational power to transfer between the driveshaft and differential, even when these components are at an angle. It consists of a cross-shaped assembly with bearings at each end, housed in a yoke. The two main types are cross and roller U-joints (common in rear-wheel-drive vehicles) and ball and trunnion U-joints (often found in front-wheel-drive systems). Properly functioning U-joints ensure smooth power delivery and reduce stress on the drivetrain.

Common Signs of a Bad U-Joint
1. Unusual Noises
A failing U-joint often announces itself with a loud clunking, squeaking, or rattling noise, especially during acceleration, deceleration, or when shifting gears. These sounds occur because worn bearings or damaged seals allow metal-on-metal contact. If you hear grinding or popping, it’s a clear sign that the joint is failing.
2. Vibrations While Driving
Excessive vibrations, particularly at higher speeds, can indicate a bad U-joint. These vibrations may feel like a shudder in the steering wheel or seats and worsen over time. Ignoring them can lead to further drivetrain damage or even a disengaged driveshaft while driving.
3. Difficulty Shifting Gears
If shifting gears becomes sluggish or jerky, a failing U-joint could be the culprit. The misalignment caused by a worn joint puts extra strain on the transmission, making shifts feel rough or delayed.
4. Visible Wear or Rust
Regularly inspect your U-joints for signs of rust, grease leaks, or cracks. A healthy U-joint should be well-lubricated and free of debris. Excessive rust or dryness means the joint isn’t sealed properly and may fail soon.
5. Driveshaft Misalignment
A bad U-joint can cause the driveshaft to sit at an odd angle or wobble excessively. If you notice the driveshaft looking off-center or conflicting with other components, it’s time for a closer inspection.
How to Diagnose a Bad U-Joint
1. Visual Inspection
With the vehicle safely elevated on jack stands, check the U-joint for visible damage. Look for cracked seals, rust, or loose bearings. Gently move the driveshaft side to side—if there’s excessive play, the joint is worn out.
2. Test Drive Observations
Take your vehicle for a short test drive on a quiet road. Listen for unusual noises or vibrations, especially when turning or accelerating. If the symptoms worsen, the U-joint is likely the issue.
3. Using a Mechanic’s Stethoscope
A mechanic’s stethoscope can help pinpoint the exact source of a suspicious noise. Place the stethoscope against the driveshaft and U-joint while running the engine to isolate grinding or clicking sounds.
4. Checking for Play in the Driveshaft
With the vehicle in neutral and the parking brake engaged, try moving the driveshaft by hand. Any noticeable wobble or looseness indicates a failing U-joint.
How to Fix a Bad U-Joint
1. Replacing the U-Joint
Replacing a U-joint requires basic tools like wrenches, a socket set, and a bearing press. Remove the old joint, clean the area, and install a new one following the manufacturer’s specifications. Always use high-quality replacement parts to ensure durability.
2. Lubricating the U-Joint
Regular greasing can extend a U-joint’s life. Most joints have grease fittings—apply high-temperature grease every 30,000 miles or as recommended. However, if the joint is severely damaged, lubrication won’t fix it.
3. Professional Repair Options
If you’re uncomfortable with DIY repairs, a mechanic can handle the job efficiently. Complex drivetrain issues may require specialized tools or expertise, so don’t hesitate to seek professional help.
Preventing U-Joint Problems
1. Regular Maintenance
Schedule routine inspections and lubrication to catch early signs of wear. A proactive approach saves money and prevents unexpected breakdowns.
2. Avoiding Overloading
Excessive weight puts extra strain on the drivetrain, accelerating U-joint wear. Stick to your vehicle’s recommended towing and payload limits.
3. Driving on Smooth Surfaces
Frequent off-roading or rough road conditions can damage U-joints faster. When possible, opt for smoother terrain to prolong their lifespan.
FAQ Section
- How long does a U-joint typically last? With proper maintenance, a U-joint can last 50,000 to 100,000 miles. Severe conditions or neglect may shorten its lifespan.
Conclusion
A bad U-joint won’t fix itself—prompt diagnosis and repair are essential for safety and performance. By recognizing the warning signs and performing regular maintenance, you can avoid costly drivetrain damage. If you suspect a failing U-joint, don’t delay. Schedule an inspection today or learn more about keeping your vehicle’s drivetrain in top shape.
—