Diy: How to Replace a Universal Joint in Under 30 Minutes
Your vehicle’s drivetrain relies on a small but mighty component called the universal joint (U-joint) to transfer power smoothly between the driveshaft and other connected parts. Over time, wear and tear can cause the U-joint to fail, leading to frustrating noises, vibrations, and even potential safety risks. The good news? Replacing a U-joint is a straightforward DIY task that can be completed in under 30 minutes with the right tools and a bit of know-how. In this guide, we’ll walk you through the entire process, from understanding the U-joint’s role to installing a new one efficiently. Let’s get started!
What is a Universal Joint and Why Does It Need Replacement?
Understanding the Universal Joint
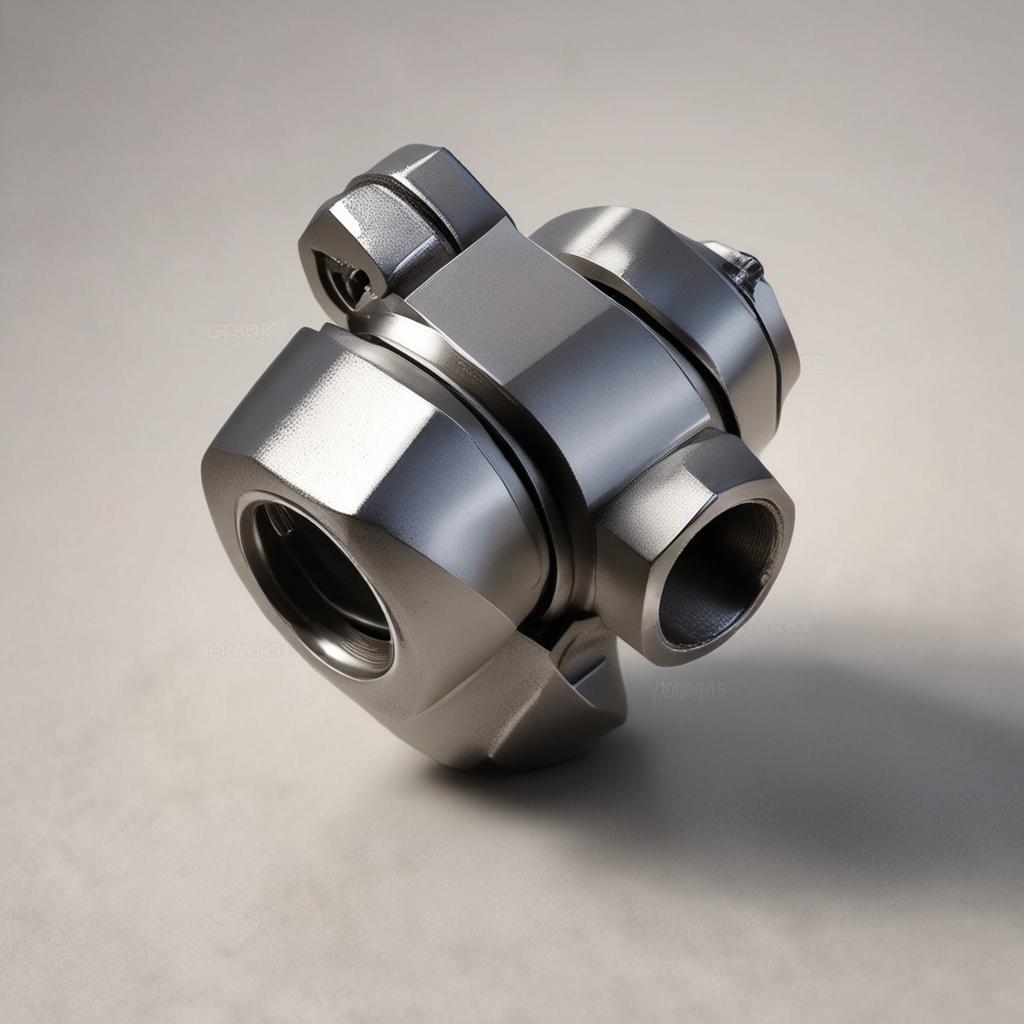
A universal joint, or U-joint, is a mechanical component that allows the driveshaft to flex and rotate at different angles, ensuring smooth power transfer between the transmission and the wheels. Common types include cross and roller U-joints and ball and trunnion U-joints, each designed for specific vehicle applications. Without a functioning U-joint, your vehicle’s drivetrain can’t operate effectively.
Signs of a Failing U-joint
If your U-joint is failing, you might notice clunking noises when shifting gears, vibrations while driving, or difficulty turning the vehicle. These symptoms indicate that the joint is worn out and needs immediate attention to prevent further damage.
Importance of Timely Replacement
Ignoring a failing U-joint can lead to severe consequences, including drivetrain damage, loss of vehicle control, or even complete driveline failure. Replacing it promptly not only ensures a smoother ride but also safeguards your vehicle’s overall performance and safety.

Tools and Materials Needed for U-joint Replacement
Before diving into the replacement process, gather these essential tools and materials:
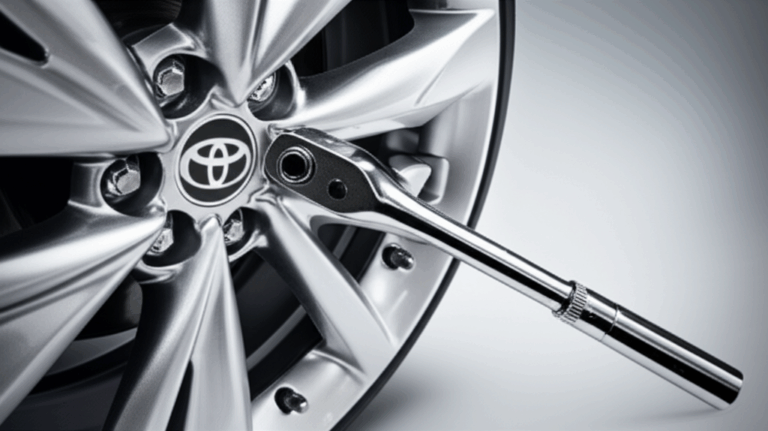
- Socket wrench set
Always opt for high-quality replacement parts to ensure durability and performance.
Essential Checklist
Goal Definition
Clearly define objectives and success metrics
Resource Planning
Allocate necessary time, budget, and personnel
Implementation Strategy
Develop step-by-step execution plan
Quality Assurance
Establish testing and validation procedures
Performance Monitoring
Set up tracking and reporting systems
Essential items for Diy: How to Replace a Universal Joint in Under 30 Minutes
Step-by-Step Guide to Replacing a Universal Joint
Step 1: Prepare Your Workspace
Park your vehicle on a flat surface, engage the parking brake, and lift it securely using a jack and jack stands. Safety should always come first.
Step 2: Remove the Driveshaft
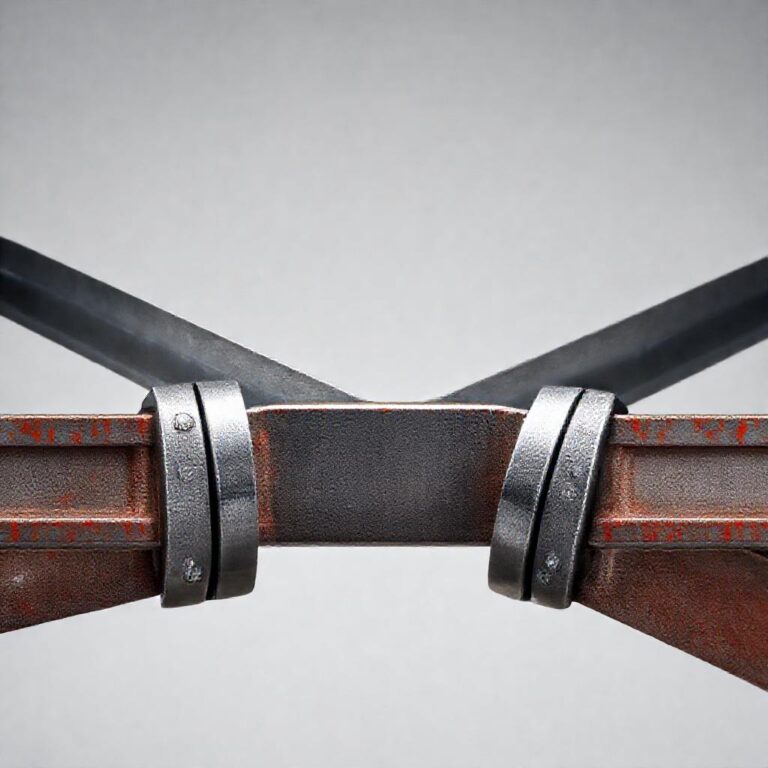
Locate the U-joint and mark the driveshaft to ensure proper alignment during reassembly. Remove the retaining clips or straps using pliers.

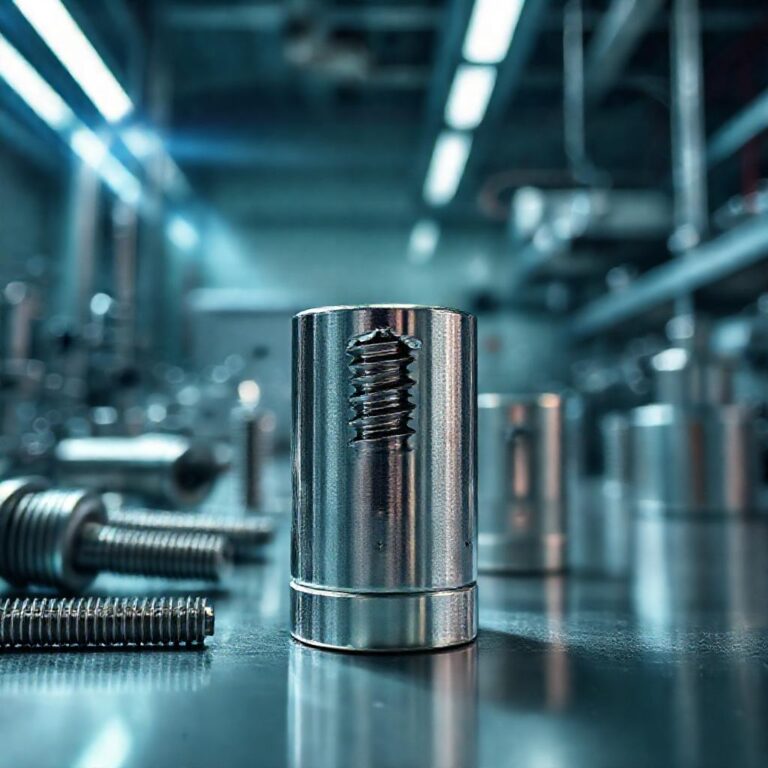
Step 3: Extract the Old U-joint
Use a hammer and socket or a U-joint press to carefully remove the old joint. Avoid using excessive force to prevent damage to the yoke.
Step 4: Install the New U-joint
Clean the yoke thoroughly, apply grease to the new U-joint, and press it into place using your tools. Ensure it fits snugly and aligns correctly.
Step 5: Reassemble the Driveshaft
Secure the new U-joint with retaining clips or straps and reattach the driveshaft to the vehicle. Double-check alignment marks for accuracy.
Step 6: Test the Repair
Lower the vehicle, start the engine, and check for smooth operation. If everything feels and sounds normal, you’ve successfully replaced your U-joint!
Tips for a Smooth U-joint Replacement
- Lubricate the new U-joint properly to extend its lifespan.
Common Mistakes to Avoid
- Forgetting to mark the driveshaft before removal.
Conclusion
Replacing a universal joint is a quick and cost-effective DIY project that can save you time and money while keeping your vehicle in top shape. By following this guide, you’ll gain the confidence to tackle this repair with ease. Remember, a well-maintained U-joint ensures a smoother, safer driving experience. So, grab your tools, get to work, and enjoy the satisfaction of a job well done!

FAQs
How often should I replace my universal joint?
U-joints typically last 50,000 to 100,000 miles, but inspect them regularly for wear.
Can I replace a U-joint without a press?
Yes, a hammer and socket can work, but a press is recommended for precision.
What happens if I don’t replace a failing U-joint?
It can lead to drivetrain damage, loss of vehicle control, or complete failure.
How do I know if I’ve installed the U-joint correctly?
Test for smooth operation, absence of noise, and proper alignment.
Can I reuse the old retaining clips?
It’s best to use new clips to ensure a secure fit.