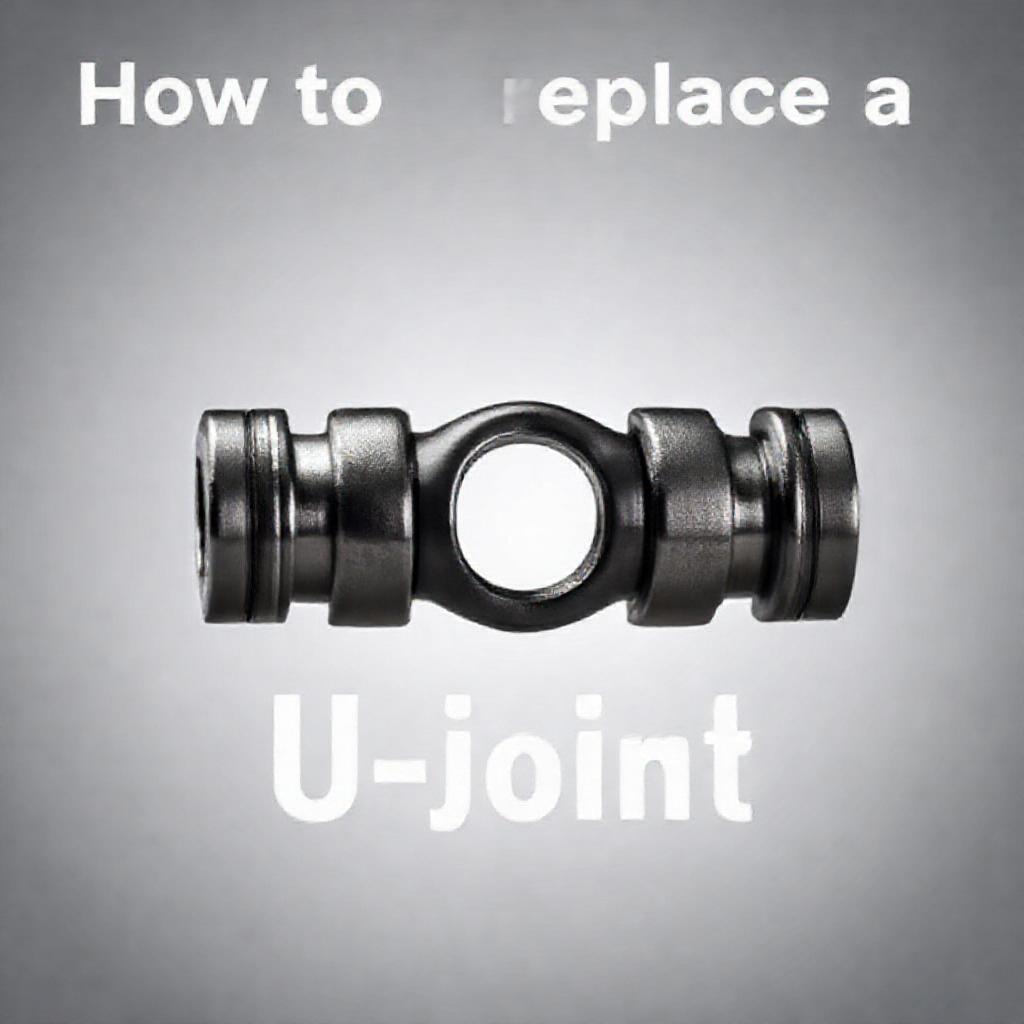
How to Replace a U-joint
A universal joint, or U-joint, is a critical component in a vehicle’s drivetrain that allows for the smooth transfer of power between the transmission and the differential, even when the two are not perfectly aligned. Over time, U-joints can wear out due to factors like age, lack of lubrication, or excessive stress, leading to vibrations, clunking noises, or even complete drivetrain failure. Replacing a faulty U-joint is a manageable task for many DIY enthusiasts, but it requires the right tools, safety measures, and attention to detail. This guide will walk you through the process, ensuring your vehicle remains reliable and road-ready.
Understanding U-Joints and Their Function
What is a U-Joint?
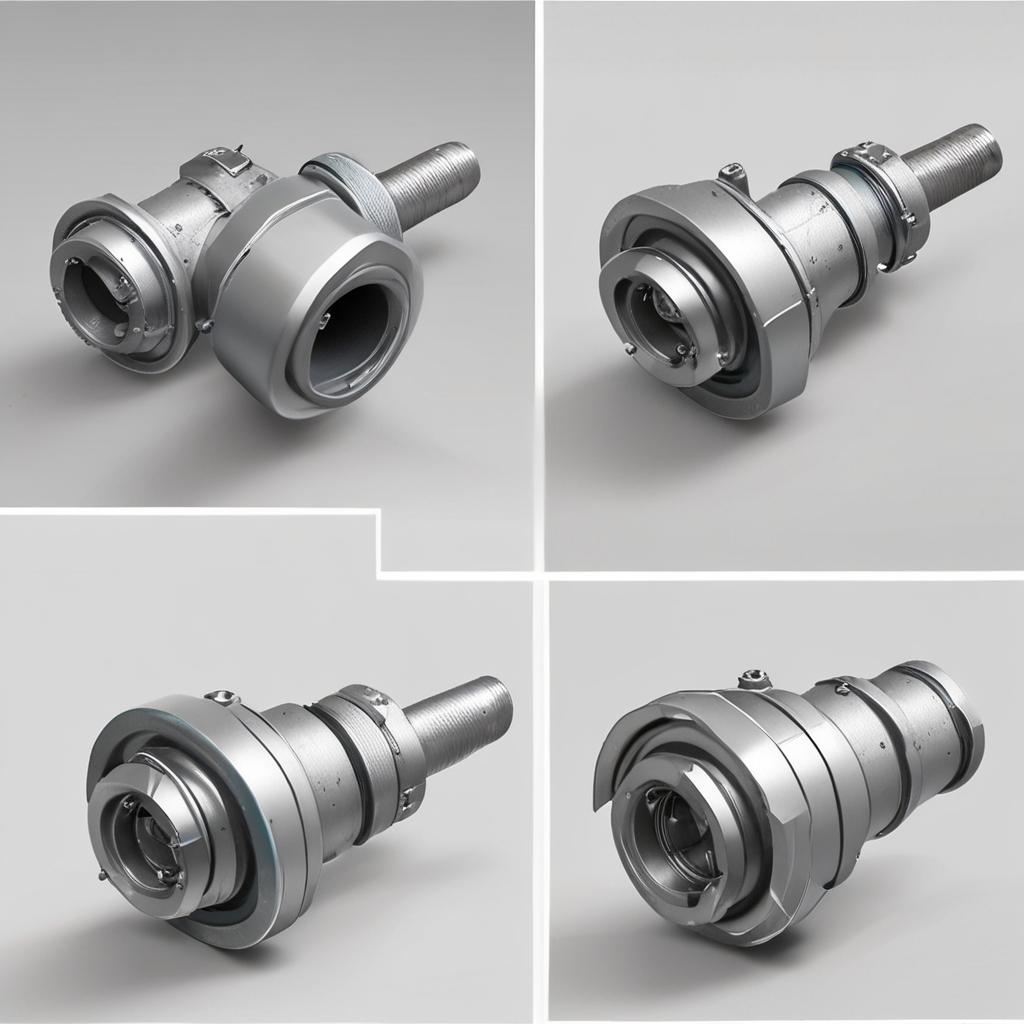
A U-joint is a mechanical coupling that connects two driveshaft sections or links the driveshaft to the transmission and differential. It accommodates angular movement and torque transfer, enabling wheels to rotate at different speeds while maintaining power delivery. Without a properly functioning U-joint, your vehicle’s drivetrain could suffer misalignment or damage.
Signs of a Failing U-Joint
The most common indicators of a worn U-joint include clunking sounds when accelerating or decelerating, excessive vibrations while driving, and difficulty turning the vehicle. Grease leaks around the joint or visible play in the driveshaft are also telltale signs. Ignoring these symptoms can lead to costly repairs or sudden breakdowns.
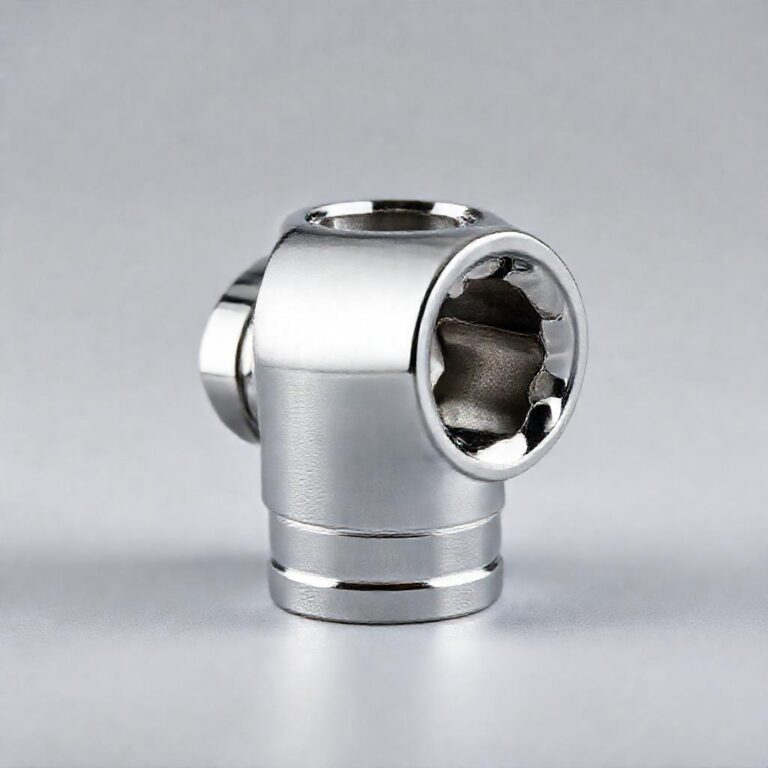
Types of U-Joints
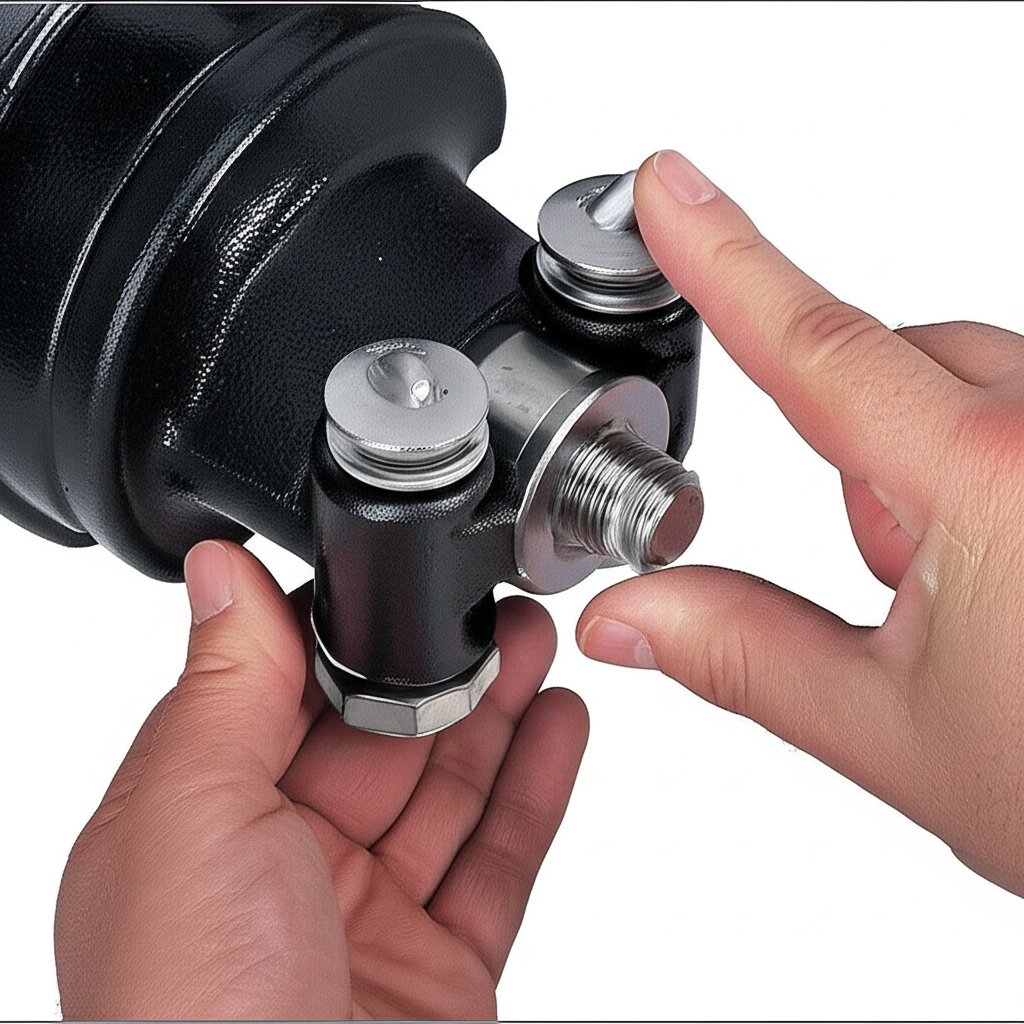
U-joints come in two primary types: greaseable and non-greaseable. Greaseable models feature a Zerk fitting for regular lubrication, often found in older trucks and heavy-duty vehicles. Non-greaseable U-joints are sealed units designed for low maintenance, common in modern cars. Choosing the correct type ensures compatibility and optimal performance with your vehicle’s specifications.
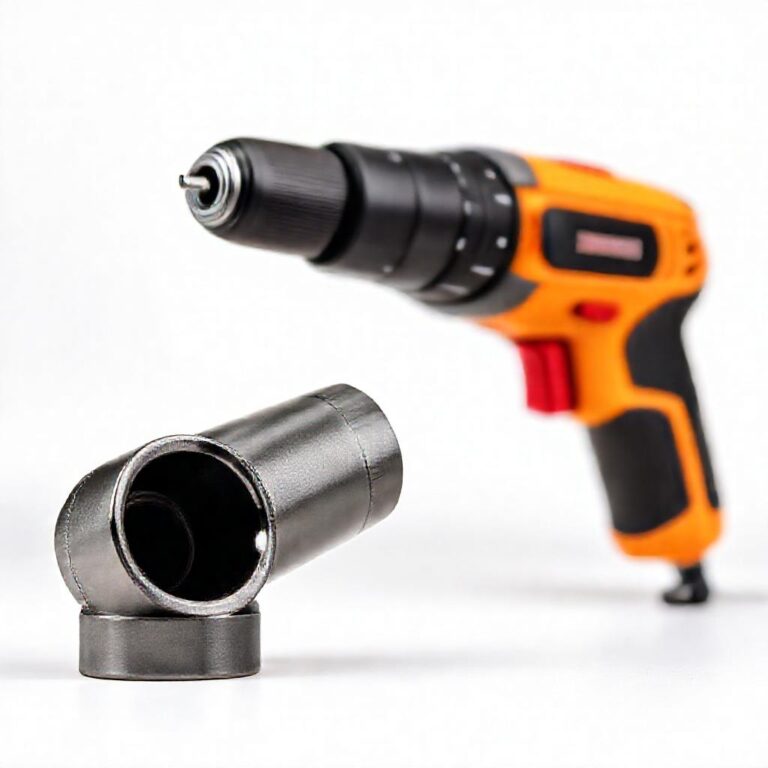
Preparing for U-Joint Replacement
Tools and Materials Needed
Gather a socket set, wrenches, a hammer, a C-clamp or hydraulic press, pliers, a jack and jack stands, safety gloves, safety glasses, and a replacement U-joint. If working with greaseable joints, include a grease gun and fresh lubricant. Having all tools ready prevents delays and ensures efficiency during the repair.
Safety Precautions
Always wear safety gloves and glasses to protect against sharp edges and debris. Work on a flat, stable surface and use wheel chocks to prevent the vehicle from rolling. Never rely solely on a jack—secure the vehicle on jack stands before starting. Additionally, disconnect the battery to avoid accidental engagement of the drivetrain.
Lifting the Vehicle
Use a jack to lift the vehicle and place it securely on jack stands. Ensure the stands are rated for your vehicle’s weight and positioned on solid ground. Double-check the stability of the lifted vehicle before crawling underneath. This step is vital for accessing the driveshaft and U-joint safely.
Step-by-Step Guide to Replacing a U-Joint
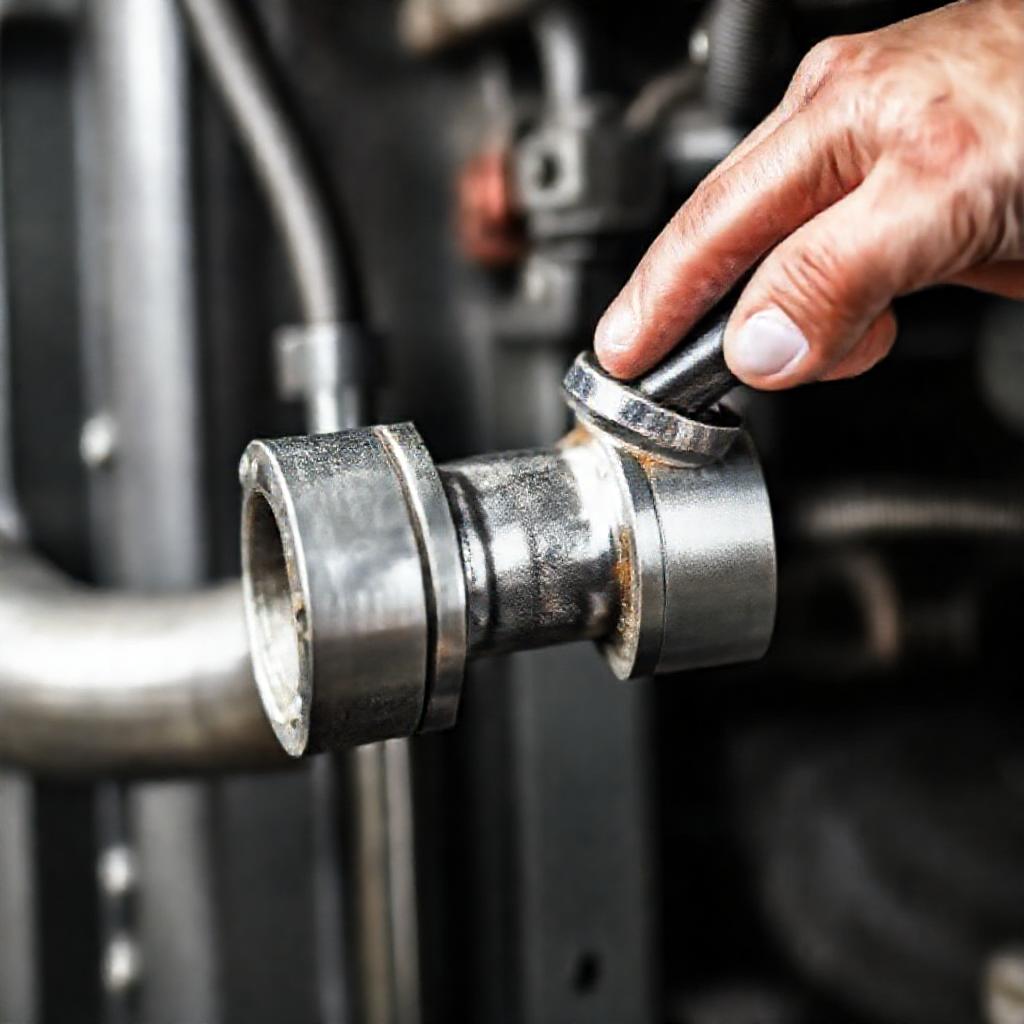
Locating the U-Joint
The U-joint is typically found in the center of the driveshaft, connecting the transmission to the rear differential. Inspect the joint for rust, cracks, or excessive play. Marking the driveshaft’s position before removal can help with proper reassembly and alignment.
Removing the Driveshaft
Disconnect the driveshaft from the differential and transmission by loosening bolts or U-bolts. Support the driveshaft with a jack or hoist to prevent strain on components. If the vehicle has a two-piece driveshaft, you may only need to remove the affected section instead of the entire assembly.
Removing the Old U-Joint
Use pliers to remove retaining clips or circlips securing the U-joint. A C-clamp with a press attachment or a hydraulic press can push the old joint out of the yoke. Apply even pressure to avoid damaging the driveshaft. Clean the yoke thoroughly to remove debris before installing the new part.
Installing the New U-Joint
Insert the new U-joint into the yoke, ensuring it fits snugly. Secure it with retaining clips or bolts, applying grease if the model requires it. Double-check the fit to prevent wobbling or misalignment. For non-greaseable joints, confirm the seal is intact and the joint is free of contaminants.
Reattaching the Driveshaft
Reconnect the driveshaft to the transmission and differential, aligning it with the original markings. Tighten bolts to the manufacturer’s specifications. Misalignment can cause vibrations, so take care to ensure the shaft is properly seated and balanced. Recheck all connections before lowering the vehicle.
Testing and Maintenance After Replacement
Testing the New U-Joint
After reassembly, take the vehicle for a short test drive at varying speeds to monitor for unusual noises or vibrations. Listen closely during acceleration and turns to confirm the U-joint operates smoothly. Address any issues immediately to prevent further damage.
Regular Maintenance Tips
For greaseable U-joints, lubricate them every 30,000–50,000 miles or as recommended by the manufacturer. Inspect joints during routine maintenance for wear or looseness. Non-greaseable models still require periodic checks to ensure seals remain intact and no debris affects performance.
Conclusion
Replacing a U-joint is a vital task for maintaining your vehicle’s drivetrain efficiency and safety. By following this guide, you can confidently diagnose the problem, gather the right tools, and execute the repair with precision. If you encounter challenges or lack the necessary equipment, don’t hesitate to consult a professional mechanic to avoid risks.
FAQs
How long does it take to replace a U-joint?
Typically, it takes 1–2 hours for a DIY replacement, depending on experience and tools. More complex setups or limited access may extend the time.
Can I drive with a bad U-joint?
No, driving with a failing U-joint can cause drivetrain damage or sudden failure, posing serious safety risks. Address the issue as soon as possible.
Do I need special tools to replace a U-joint?
Basic tools are sufficient, but a U-joint press or C-clamp can make the job easier and more precise, especially for stubborn components.
How often should U-joints be replaced?
U-joints should be inspected regularly and replaced when signs of wear appear, such as play, leaks, or unusual noises. There’s no fixed schedule, but checking during major services is advisable.
What’s the difference between a greaseable and non-greaseable U-joint?
Comparison table for What’s the difference between a greaseable and non-greaseable U-joint?
Greaseable U-joints have fittings for regular lubrication, while non-greaseable models are sealed and require no maintenance. Non-greaseable variants are more common in modern vehicles.